How to Ensure Recorded Videos Can Be Recovered Even If the App Is Force-Closed During Recording
When recording video with oCam, selecting the MKV container from the Codec menu allows the video file to be saved more safely even in unexpected situations. The MKV container offers excellent file stability, so even if the program closes during recording due to various issues, the file will not be corrupted and can still be played normally.
For example, even if oCam is force-closed during recording, or if a game suddenly crashes while recording gameplay, the video file saved in the MKV container can still be played normally. This is possible because the MKV format is designed to store data in a highly stable file structure.
On the other hand, if you use the MP4 container, the file may become corrupted and impossible to recover in the same kind of abnormal shutdown situation. For stable recording, using the MKV container is recommended.
However, there are a few things to keep in mind when playing MKV files. If you play an MKV file in Windows Media Player, the seek function, such as jumping to a specific point in the video, may not work smoothly. Playback itself works without a problem, but for better seeking convenience, it is recommended to use an external video player such as PotPlayer. PotPlayer plays MKV files reliably and also supports smooth seeking.
Also, MKV files are not supported by Naver's video upload feature. Since the Naver platform does not allow MKV uploads, you will need to use a platform such as YouTube if you want to share videos on the web. YouTube supports MKV uploads without issues and provides an environment optimized for sharing and playback.
Therefore, if you want stable recording with oCam, the most effective method is to select the MKV container from the Codec menu, use an external player such as PotPlayer for playback, and use YouTube for web sharing.
Today's News/Tips
Anthropic Unveils “Channels,” a New Way to Control Claude Code Sessions Directly from Mobile
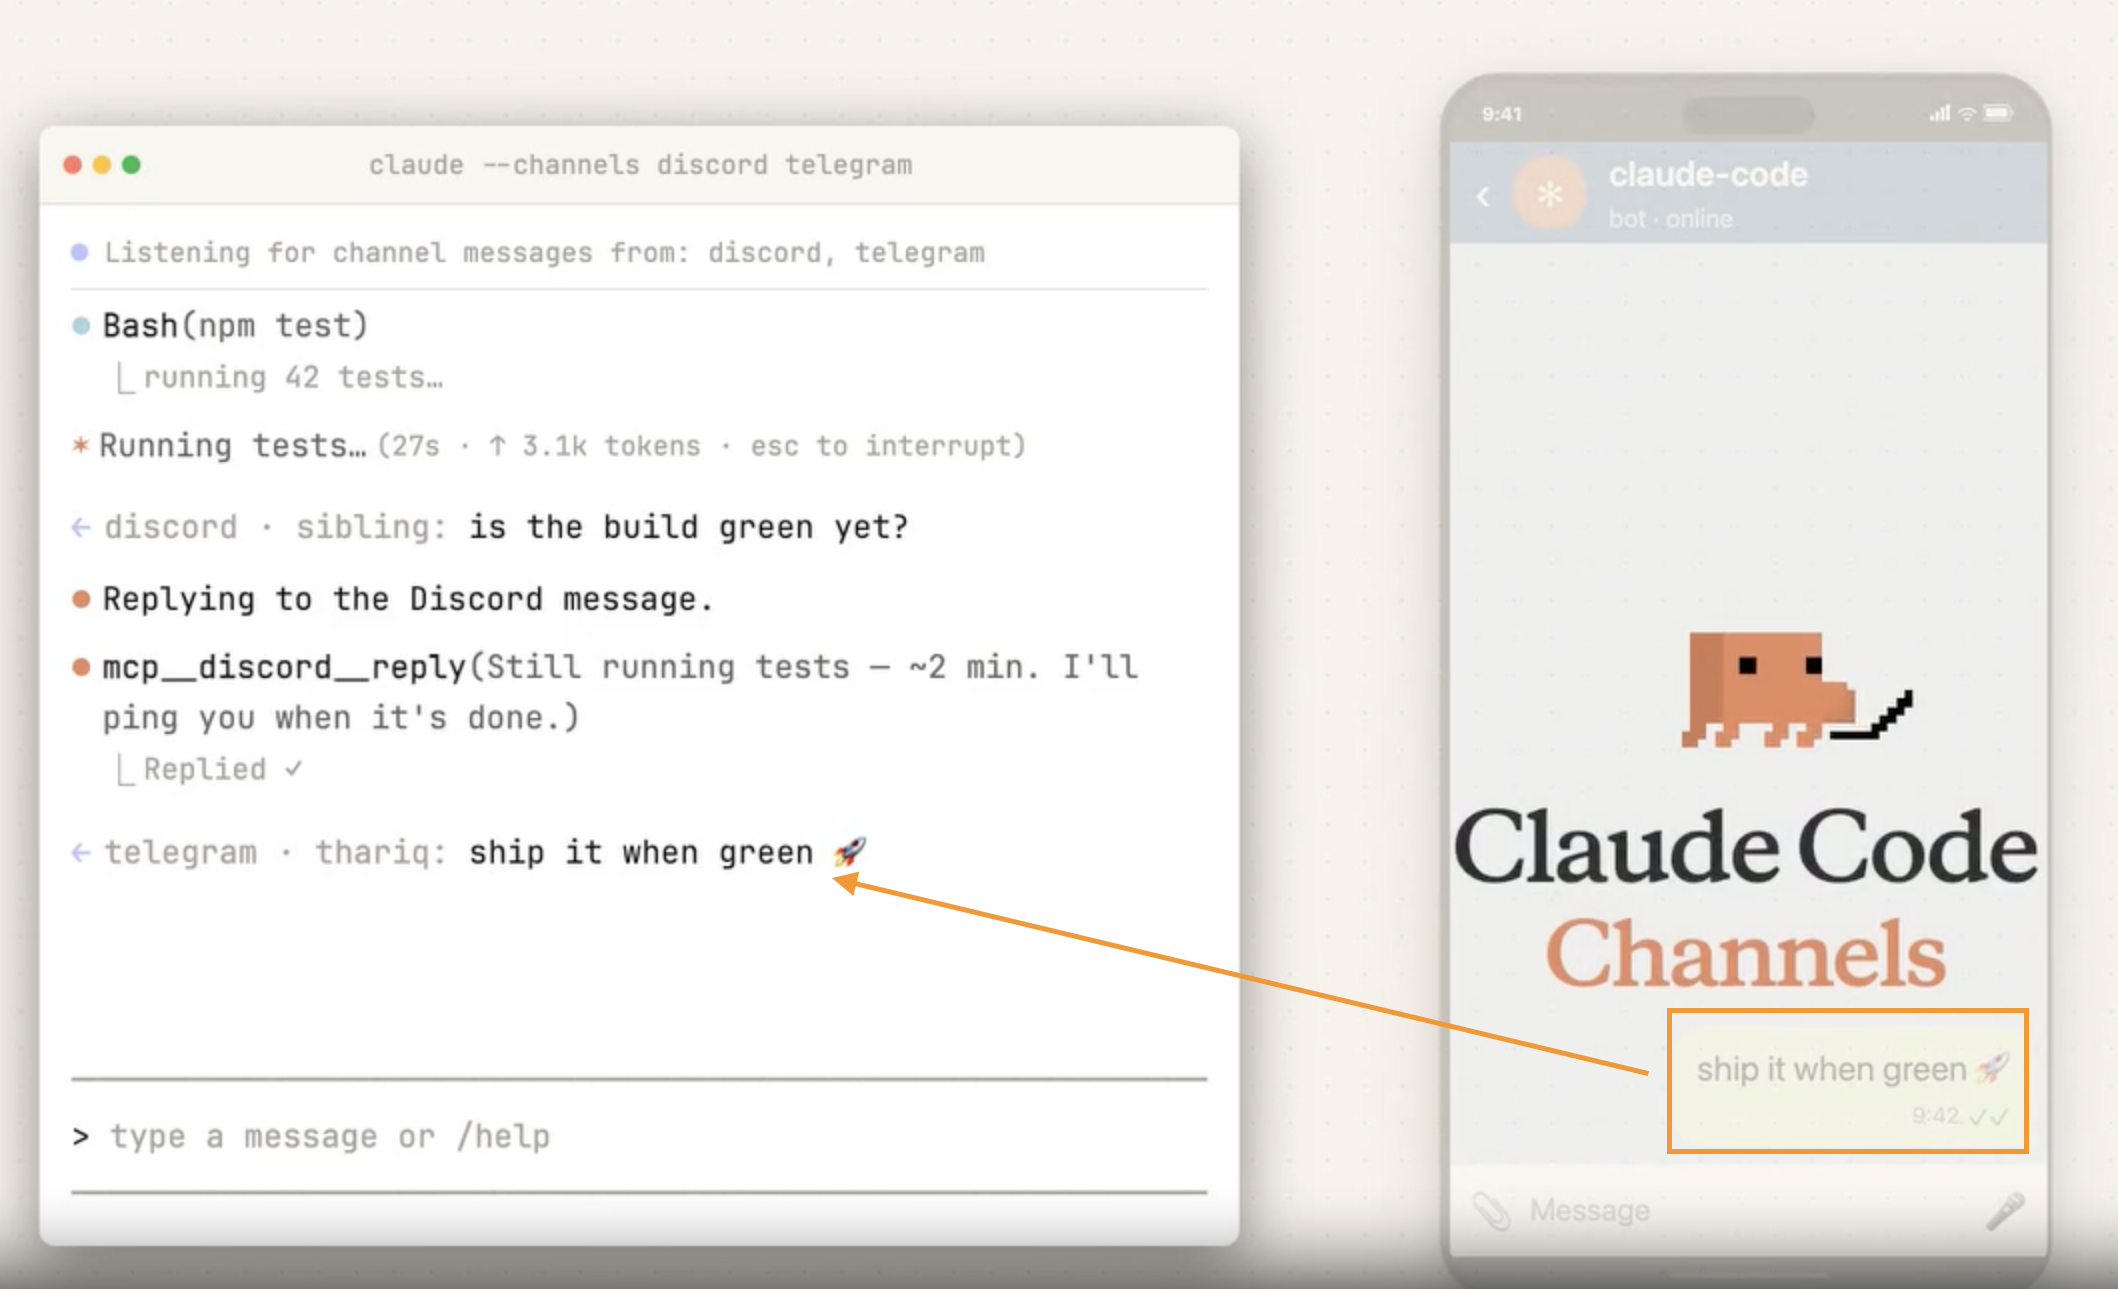
Anthropic has introduced Channels, a new feature that makes it much easier to use Claude Code in mobile environments. With this update, users can control their AI coding agent through messaging apps like Telegram and Discord, sending instructions from their smartphones as casually as they would text a friend.
At launch, Channels supports Telegram and Discord first. This means users no longer need to be sitting in front of a desktop development setup to interact with an active Claude Code session. Whether they are commuting, away from their desk, or simply on the go, they can reconnect to an existing session and send prompts in real time. Requests like “check that error again,” “summarize the test results,” or “continue refactoring that code” can now be handled directly from a mobile device.
What makes this update especially interesting is how it expands the development environment into communication tools people already use every day. Until now, coding agents were typically accessed through traditional developer interfaces such as IDEs or terminals. With Channels, familiar messaging apps themselves become the interface for directing the agent. Instead of learning a new workflow, users can collaborate with AI in an environment that already feels natural and intuitive.
Another important aspect is continuity of context. This is not just about sending isolated commands from a phone. Users can stay connected to the flow of an existing session and continue work without losing momentum. That makes the feature especially practical for developers who are in meetings, traveling, or working asynchronously with teammates. Even when they are away from their main machine, they can still monitor progress and provide instructions as needed.
Ultimately, Channels makes AI coding agents more accessible, more lightweight, and more integrated into everyday work. It reflects a broader shift away from development environments tied to a single device or location, and toward workflows that can continue anywhere. If Anthropic expands platform support and continues refining the experience, messenger-based AI development workflows could become mainstream sooner than many expect.