I think in order to support the shortcut keys that can be moved or resized the window to set the recording area, those who do not know is if like a lot.
A finely movable by using the arrow keys, it is Ctrl + arrow when you want to move more.
And a combination of Shift + arrow, you can adjust the window size.
Then! When you press a combination of Sift + Ctrl + arrow, says many controls and better window size.
==================================================
arrow key=move, Ctrl+arrow key=power move
Shift+arrow key=size, Sift+Ctrl+arrow key=power size
==================================================
 oCam
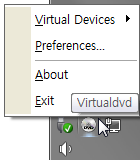
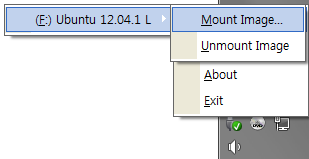
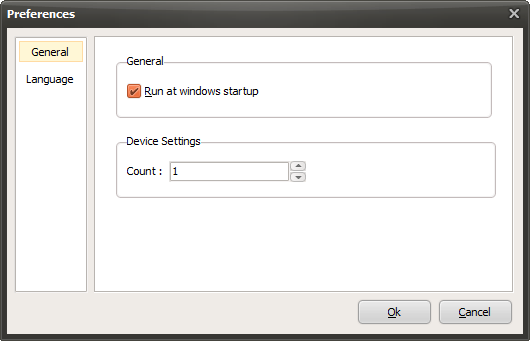
oCam  VirtualDVD
  CoffeeZip
  SecretFolder
  CapturePlus