Recommended


The System Becomes Sluggish During Recording
Using oCam at work or school? A license is required, and it removes all ads, including this window. See the paid version →
When recording with oCam, if the mouse moves slowly or the entire system feels sluggish, you need to adjust the settings to resolve the issue. Below is a detailed explanation of how to reduce the problem and lower the system load.
1. Click the 'Settings' button in the oCam main window.
2. When the Settings window opens, go to the 'Encoding' tab in the menu on the left.
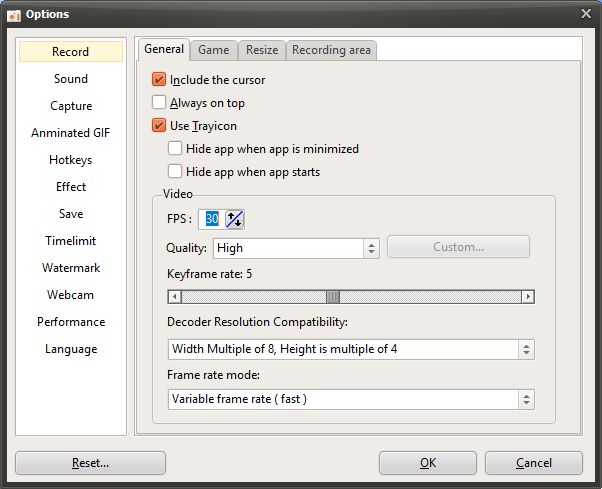
3. In the 'Encoding' tab, check the 'Frames Per Second (FPS)' setting. The default value is likely set to 30.
4. Gradually lower the FPS value while testing system performance. For example, start at 30 and reduce it step by step to 25, 20, 15, and 10.
5. At each step, start recording and check whether the mouse movement or system sluggishness improves.
6. After finding the optimal FPS value for your PC specifications, click the 'OK' button to save the settings.
Lowering the FPS may reduce video smoothness, but it can also reduce system resource usage and improve slowdown during recording. It is important to experimentally find the FPS value that best suits your PC specifications (CPU, GPU, RAM, etc.). After changing the setting, make a test recording to find the best balance.
Programs
Another helpful tip
oCam Advanced Settings - Mouse Cursor Effects - Highlight Effects
Click Tools - Options on the oCam main menu, then open the Effects category to check the Highlight Effect settings.
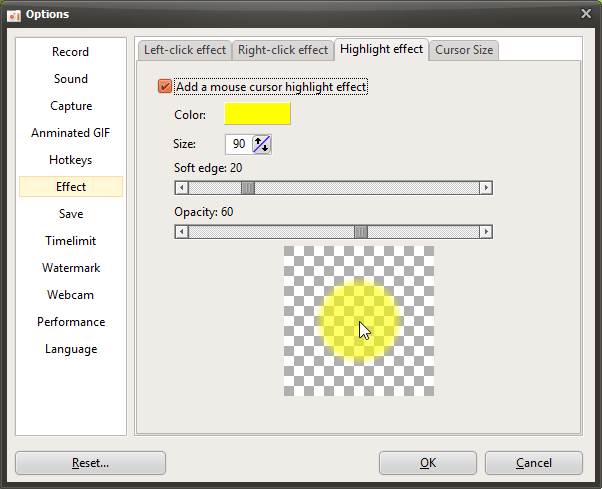
The Highlight Effect is used to help viewers immediately recognize the current position of the mouse cursor while watching a video.
The options are described below.
Color
- This is the color applied to the highlight effect. It is set to yellow by default.
Size
- When the highlight effect is enabled, a semi-transparent circle is drawn around the mouse cursor. This option sets the size of that circle. It is set to 90 by default.
Soft Edge
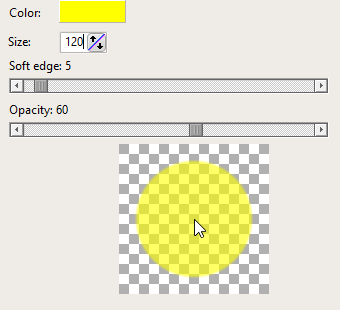
- The higher this value becomes, the softer the edge of the circle appears.
Opacity
- The lower this value is, the more transparent the circle becomes.
Preview
- Lets you preview the mouse effect you have configured.
If the opacity value is set too high, the highlight effect may cover the part of the screen where the mouse is located. For that reason, it is best to use an appropriate opacity setting.