Recommended
 Atlas Tested on Wheels, JPMorgan Sees Up to 400,000 US Humanoids by 2030, Tesla Optimus Production Begins
 PC Booting Slowly? Speed It Up by Turning Off Startup Apps
 Windows 11 Right-Click Menu: Keep Only What You Use (New in the November Update)
 Paste From Everything You Copied – How to Use Windows Clipboard History (Win+V)
What to Do If the "WASRecord: pAudioClient->Initialize failed. (hr=0x80070005)" Error Occurs
Using oCam at work or school? A license is required, and it removes all ads, including this window. See the paid version →
The "WASRecord: pAudioClient->Initialize failed. (hr=0x80070005)" error can occur when microphone permission has been disabled on Windows 10 or later. This happens because oCam does not have the required permission to access the microphone. Below is a detailed explanation of how to resolve this issue.
For oCam to use the microphone properly, microphone access must be enabled in the Windows Privacy settings. Follow the steps below to check and adjust the setting:
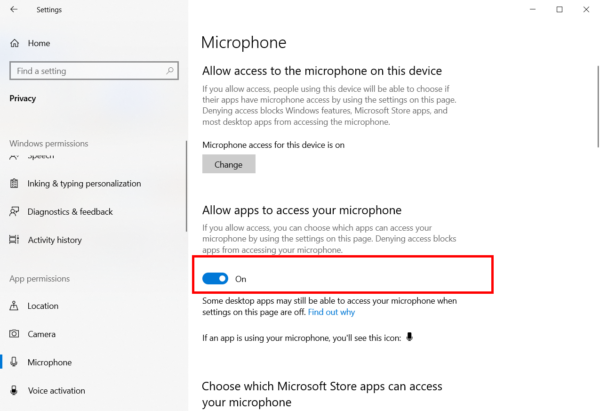
1. Open the Windows Start menu and click 'Settings' (the gear icon).
2. In the Settings window, select 'Privacy'.
3. Click 'Microphone' in the left menu.
4. Check whether the 'Microphone access for this device' option is turned on. If it is turned off, click the switch to turn it on.
5. Check whether 'Allow apps to access your microphone' is turned on. If this setting is disabled, apps such as oCam cannot use the microphone. Make sure it is turned on, then save the setting.
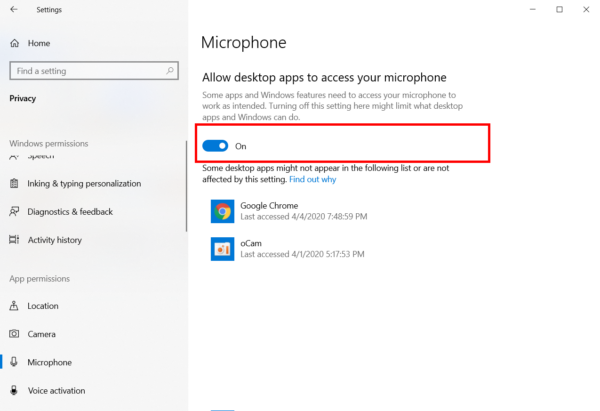
After changing the setting, restart oCam and try recording with the microphone again. If the permission has been granted properly, the "WASRecord: pAudioClient->Initialize failed. (hr=0x80070005)" error is likely to be resolved.
If the problem continues, check the microphone device settings themselves in Control Panel > Sound > Recording tab, or try selecting the microphone input source again in oCam's 'Sound' settings. In addition, updating Windows and oCam to the latest version may also help.
Programs
Another helpful tip
oCam Advanced Settings - Mouse Cursor Effects - Click Effects
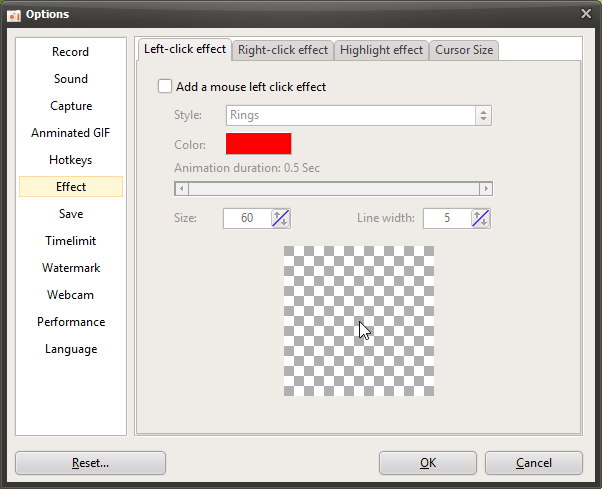
Click Tools - Options on the oCam main menu to open the settings under the Effects category.
Click Effects lets you apply separate effects when clicking the left mouse button and the right mouse button.
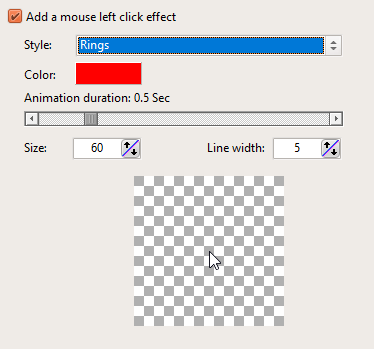
The available options for click effects are as follows. Below is an overview of each option.
The Style option supports five different styles.
1. Ring

2. Star

3. Star (Random Colors)
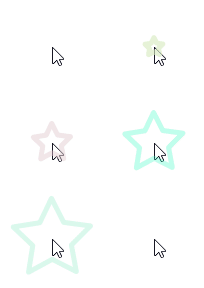
4. Rotating Star

5. Rotating Star (Random Colors)

Color is the color used for the click effect, and the selected color is ignored when Random Colors is used.
By default, it is red. For example, if the style is Ring and you change the color to black, it will appear as shown below.
( Note: The highlight animation starts slightly to the left of the text cursor, and this is normal. This is because the click position of the text cursor is slightly to the left. )
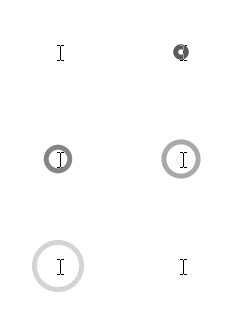
Animation Duration refers to how long the mouse cursor effect remains visible.
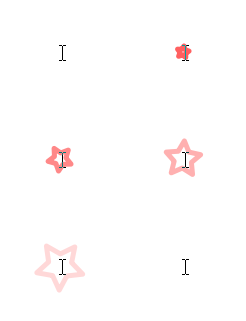
If the animation duration is set to about 0.5 seconds
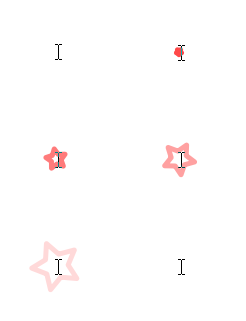
If the animation duration is set to about 2.5 seconds
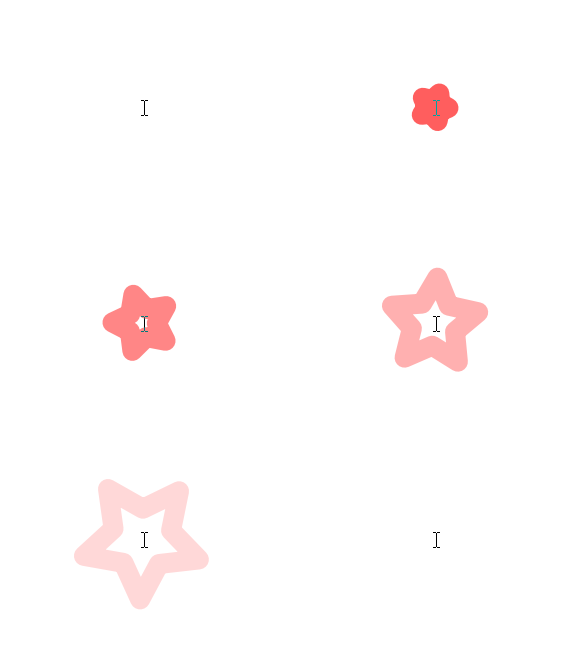
Size and Line Thickness refer to the size of the shape and the thickness of its outline, depending on the selected style.
If you increase the size to 150 and set the line thickness to about 20
Finally, the area shown below is the preview window where you can preview the options you have selected.
If you move the mouse over the preview area shown above and left-click or right-click, you can preview the click effect.