Microphone Not Working in Windows? How to Fix It (Windows 10 and 11)
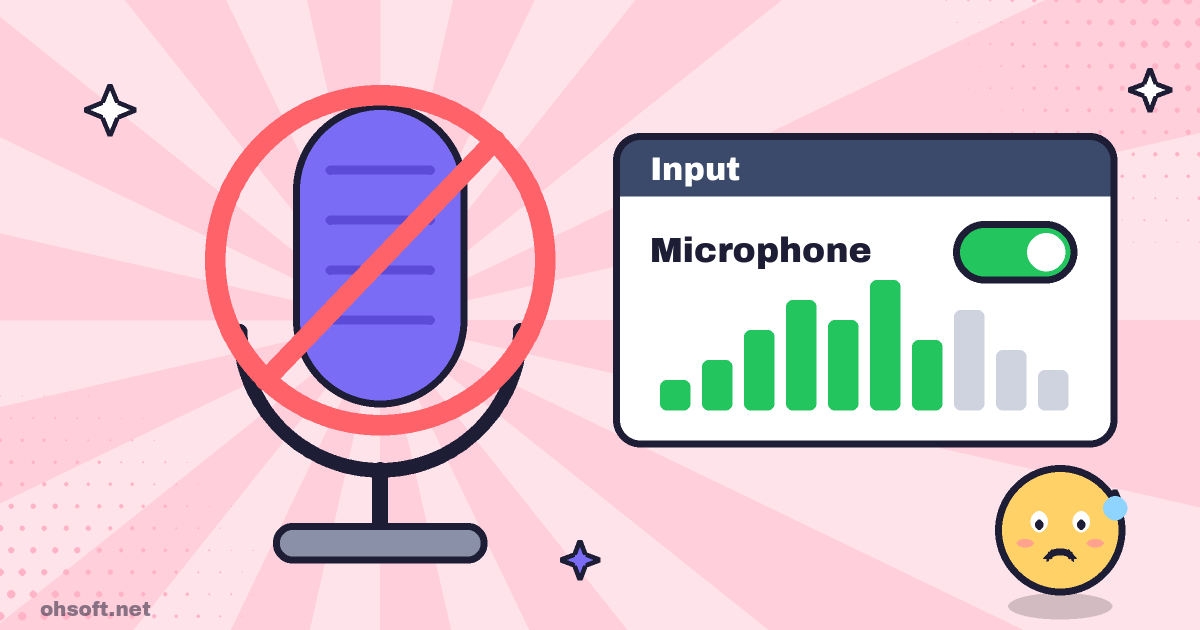
If people on a video call can't hear you, or your voice is missing from a screen recording, the cause is usually a Windows setting. Here is what to check when Windows 10 or 11 doesn't pick up your microphone, starting with the easiest fixes.
Step 1: Check the connection and mute first
- If your headset or microphone has a mute switch, make sure it is off. On a laptop, also check the microphone mute key on the keyboard (such as F4).
- Try plugging a USB microphone into a different USB port. A port on the PC itself works better than a hub.
- If your laptop has a single headset jack and your headset has separate mic and speaker plugs, you need a splitter adapter.
- For a Bluetooth headset, choose the "Headset" (hands-free) device as the input in the sound settings, or the microphone won't work.
Step 2: Allow microphone access
- In Windows 11, go to Settings → Privacy & security → Microphone. In Windows 10, go to Settings → Privacy → Microphone.
- Turn on both Microphone access and Let apps access your microphone.
- In the app list below, make sure the app you want to use isn't switched off.
- Regular programs such as screen recorders and messengers need Let desktop apps access your microphone turned on. If it is off, your voice won't be recorded.
Step 3: Check the default input device and level
- Go to Settings → System → Sound and choose your microphone under Input.
- Speak and watch whether the input level bar moves. If it doesn't, click the microphone and raise the Input volume. If the device says "Don't allow", click Allow.
- If your microphone isn't listed at all, open More sound settings at the bottom of the Sound page (the Sound control panel in Windows 10). On the Recording tab, right-click an empty area and turn on "Show Disabled Devices". If a disabled microphone appears, right-click it → Enable, then click Set Default.
- If the sound is too quiet or choppy, open the microphone's properties in the same window and turn off Enhancements (or Audio enhancements).
Step 4: Reinstall the driver and run the troubleshooter
- Right-click the Start button, open Device Manager and expand Audio inputs and outputs.
- If the microphone shows a yellow exclamation mark, right-click it → Uninstall device, then restart the PC. Windows reinstalls the driver.
- On laptops, installing the latest audio driver from the manufacturer's website often fixes the problem.
- You can also run the audio troubleshooter from Settings → System → Troubleshoot → Other troubleshooters.
If it only fails in a recording or meeting app
- Check that the recording device (microphone) in the app's own audio settings is the microphone you are using. Apps often pick a different device from the Windows default.
- If another program takes exclusive control of the microphone, other apps may get no sound. On the Recording tab, open the microphone's properties → Advanced and turn off "Allow applications to take exclusive control of this device".
- In screen recorders such as oCam, check that the microphone level meter moves before you start, and make a short test recording. It saves you from having to record again.
Blog
- Show File Extensions in Windows – Spot Malware Disguised as a PDF
- Paste From Everything You Copied – How to Use Windows Clipboard History (Win+V)
- PC Booting Slowly? Speed It Up by Turning Off Startup Apps
- Find and Save Your Windows BitLocker Recovery Key Before You Need It
- How to Make a Windows 11 Installation USB (Media Creation Tool)
- How to Create a System Restore Point in Windows and Roll Back Your PC
- C: Drive Running Out of Space? How to Free Up Storage in Windows
- How to Pause Windows Updates and Uninstall an Update That Causes Problems