Recommended


oCam Basics: A Beginner's Guide to Screen Recording on Windows
Using oCam at work or school? A license is required, and it removes all ads, including this window. See the paid version →
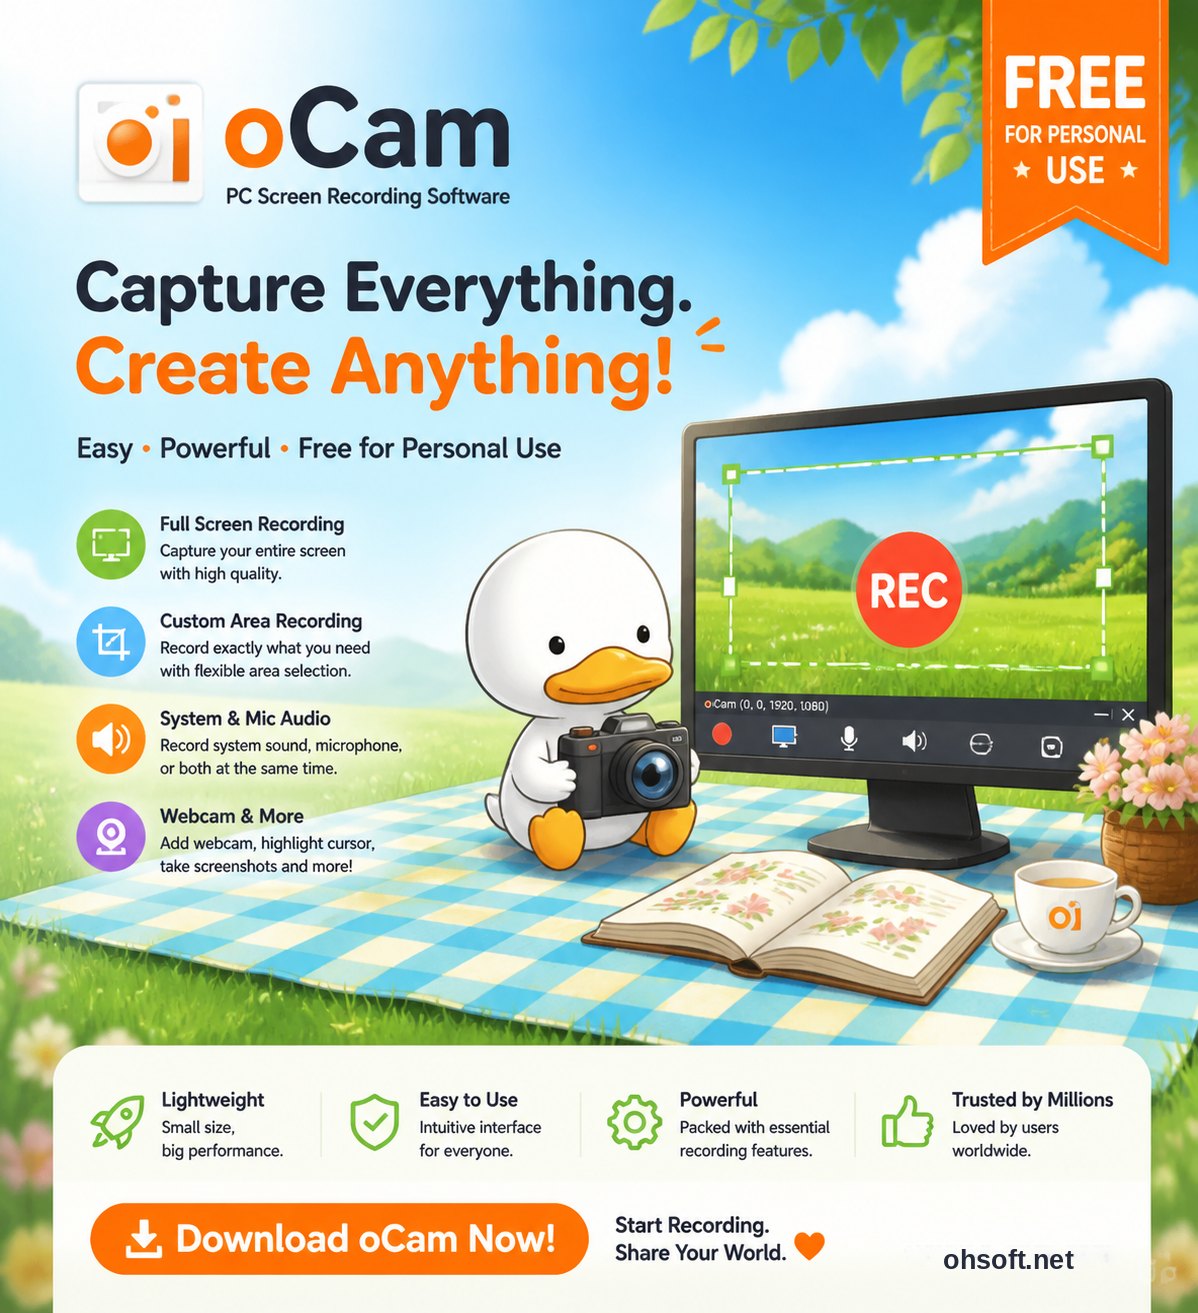
oCam is a screen recorder for Windows PCs. It is free for personal use, and even the free version adds no watermark to your videos. Lectures, how-to videos for work, gameplay and online meetings can all be recorded with one key (F2). This guide walks you through the basics in order, so you can get comfortable with oCam in about ten minutes.
What you can do with oCam
- Screen recording – record the full screen, any area you choose, or a single window
- Game recording – record DirectX 8–12 and OpenGL games with an FPS counter
- Audio recording – save only computer sound or your microphone as MP3, without video
- Screen capture – save the recording area as an image (PNG), even while recording
- GIF – record short clips as animated GIFs
1. Get to know the main window
When you start oCam, a small main window and a green recording-area box appear.
- First choose a tab at the top: Screen Recording / Game Recording / Audio Recording.
- Record starts recording right away. Capture saves the current area as an image.
- Resize sets the recording area to a fixed size (resolution) or to the full screen.
- Codecs chooses the file format (MP4, MKV, GIF and more). Sound chooses what audio to record.
- Open opens the folder where your recordings and captures are saved.
2. Set the recording area
- Everything inside the green box is recorded. Drag the small squares on the edges and corners to resize it, and drag the cross in the middle to move it.
- Hold Ctrl or Shift and press the arrow keys to move it precisely, step by step.
- To record the whole monitor, choose Resize → Full Screen. For YouTube, sizes like 1920×1080 or 1280×720 work well.
- To record just one program window, use Find recording target window in the Resize menu and pick that window.
3. Start, pause and stop
- Press the Record button or the F2 key to start. While recording, the area box turns red.
- The main window shows the recording time, file size and free disk space, and you can Pause or Capture at any time.
- Press F2 (or Stop) again to finish. Click Open and the folder opens with your new file selected.
- You can change the hotkeys under Tools → Options.
4. Sound: computer audio + your voice
- By default oCam records system sound (the sound your computer plays).
- To add your own voice, pick your microphone with the Sound button and record both together.
- If you don't need sound, turn off both system sound and the microphone.
- Before a long recording, always make a 10-second test recording to check that the sound is there.
More: Recording microphone and system sound
5. Game recording
- Click the Game Recording tab, then switch to your game. A yellow FPS number appears in the top-left corner.
- Press F2 and the number turns red as recording starts. Press F2 again to stop.
- With an NVIDIA graphics card, choose Codecs → NVENC H.264 (hardware encoder) for the smallest frame drops while recording.
- Some games' anti-cheat software may block recording. In that case, try recording the game in windowed mode from the Screen Recording tab.
More: How to record games
6. Audio only, screenshots and GIFs
- In the Audio Recording tab, press Record to save sound only as MP3 (AAC is also available under Codecs).
- The Capture button saves the area as PNG. You can switch to JPG or BMP in the options.
- Choose GIF under Codecs to record short clips as animated GIFs.
7. Balance quality and file size
- The default codec (MPEG-4) runs smoothly on most PCs and plays in most players.
- For sharper video, set quality to Very High under Tools → Options → Encoding, and use NVENC H.264 if your graphics card supports it.
- If files are too large, lowering the quality by one step or making the recording area smaller helps the most.
5 handy tips
- Keep the oCam window out of the video: minimize the main window, then press F2. (More)
- Change the save folder: set it to a drive with plenty of free space in the Save section of the options, so your C: drive doesn't fill up. (More)
- Stay safe if something crashes: choose the MKV format under Codecs. If oCam or your game closes suddenly, the video recorded so far can still be played. (More)
- Add your own logo: under Tools → Options → Watermark you can place a PNG logo at any position and opacity. (More)
- Download only from the official site: installers from other sites may have been tampered with. If your antivirus wrongly blocks oCam, add it as an exception.
Free vs. paid version
- oCam is free for non-commercial personal use. The free and paid versions have the same recording features.
- Companies, organizations, public institutions, schools and PC cafés need to buy a license.
- The paid version removes all ads, including the ad page that opens when you close oCam. (How to register your serial)
FAQ
- Does it work on Mac? oCam is a Windows program.
- Where are my recordings? Click Open in the main window and the save folder opens right away.
- The hotkey doesn't work. Another program may be using the same key. Try a different key in the options.
Get oCam: Free oCam download · More guides: How to record your screen with oCam
Programs
Another helpful tip
If Avast is installed, please disable the DeepScreen feature.
When users who use Avast antivirus install or update an OhSoft program such as oCam, the installation process may repeat several times. This is caused by Avast's 'DeepScreen' feature. Below is a detailed explanation of the cause of this issue and how to resolve it.
The DeepScreen feature is triggered when there is not enough reputation information about an executable file, which can cause a program such as oCam to be recognized as suspicious. OhSoft makes efforts to maintain compatibility with antivirus software, but in this case, even though the program is functioning normally, a situation can occur where a legitimate executable file that is not malicious is unable to install or update properly because of a specific antivirus feature. This is similar to a situation where a properly developed program causes inconvenience to users because of a false positive from antivirus software.
To resolve this issue, you need to disable Avast's DeepScreen feature. Below is a step-by-step guide on how to turn off the DeepScreen feature:
1. Go to the main screen of Avast antivirus.
2. Click the 'Settings' button on the left side of the screen.
3. When the Settings window opens, select the 'Antivirus' button from the menu on the left.
4. In the 'Antivirus' section, find the 'Enable DeepScreen' checkbox and clear it.
After changing the setting, confirm that it has been saved, then try installing or updating oCam again. Once the DeepScreen feature is disabled, the repeated installation issue is likely to be resolved. If the problem continues, you may also want to apply the latest Avast updates or contact OhSoft support.